Husky Build Phase 1 – Selfmade
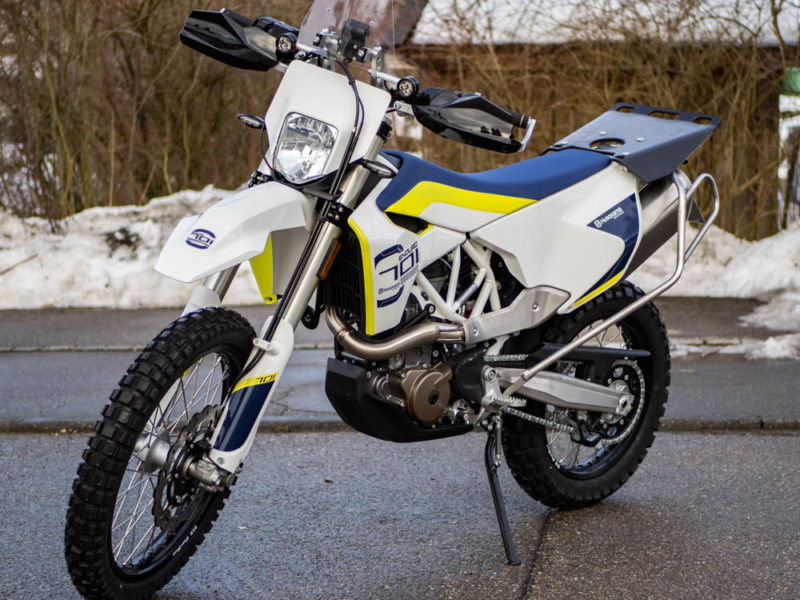
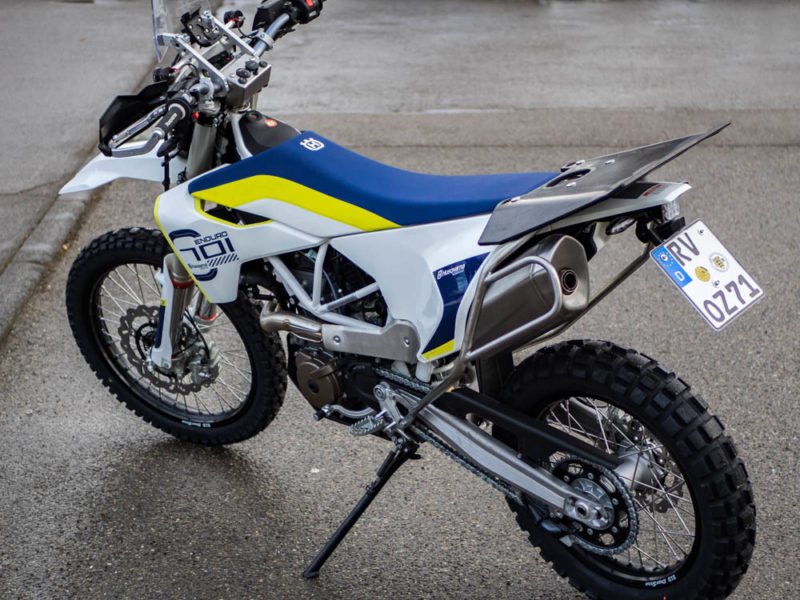
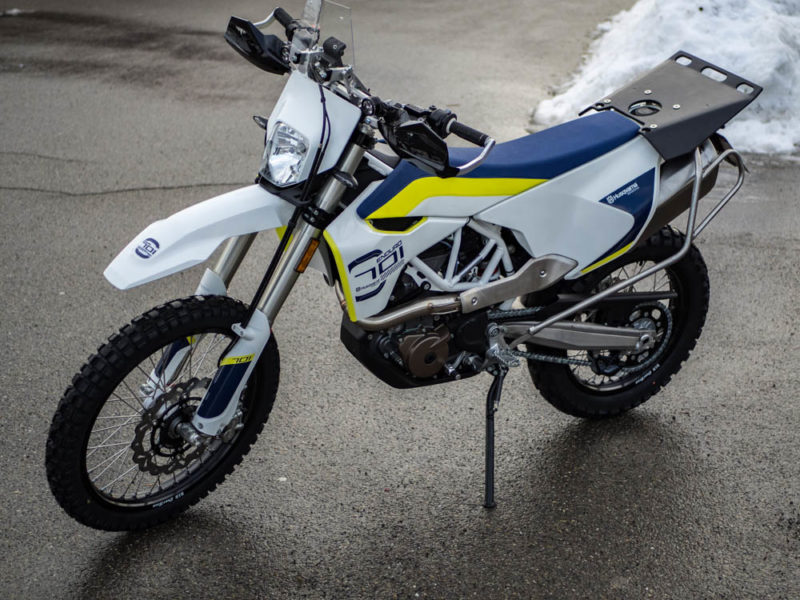
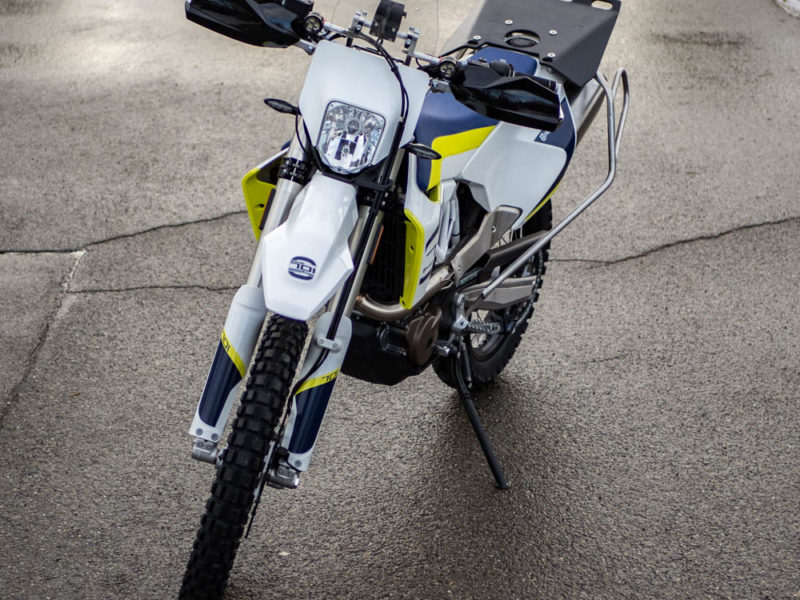
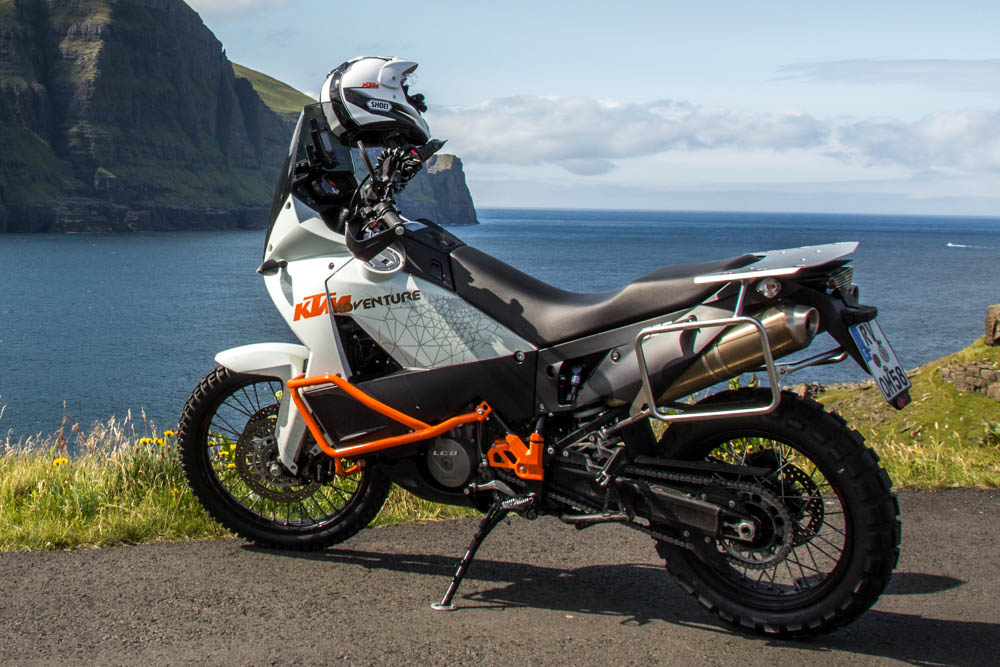
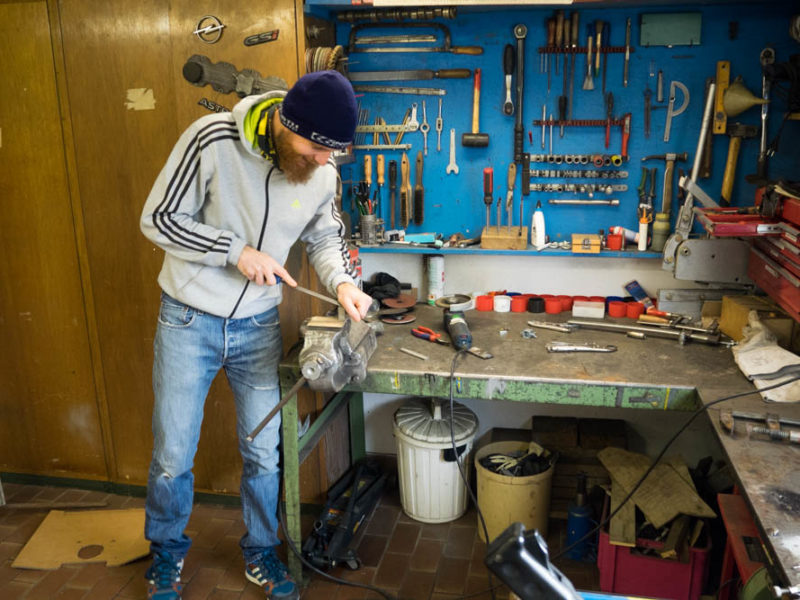
Husky Build Phase 1 – Selfmade https://www.linesonmaps.com/wp-content/uploads/2019/03/2018.12.28___19.15.02___OMDEM1_web.jpg 1000 667 Michael Michael https://secure.gravatar.com/avatar/d30980ec39acb275922b1b6f9e3c5a60?s=96&d=wp_user_avatar&r=gOf course, for an engineer and mechanic like me it is also a highlight to prepare the bike for a trip and to optimize it after a journey. On the one hand it is fun, on the others, at least if you do not count your own hours, you save money. Because we built Olivers and my bike, the effort was worth twice as well. Doing that work with a friend is even more fun. Olivers motorcycle is up to a few details modified the same way as mine, which is described below. Questions about further details are welcome in the form of comments. To arouse curiosity, what is hidden here in detail, you can first see the following gallery with the preliminary status:
Market
For the 701 I know the following manufactureres of luggage plates:
www.perunmoto.com Serbia, www.nomad-adv.com Netherlands, rally-raidproducts.co.uk UK, www.radegarage.com Czech Republic and www.bboffroad.com.au Australia
Personal Experience
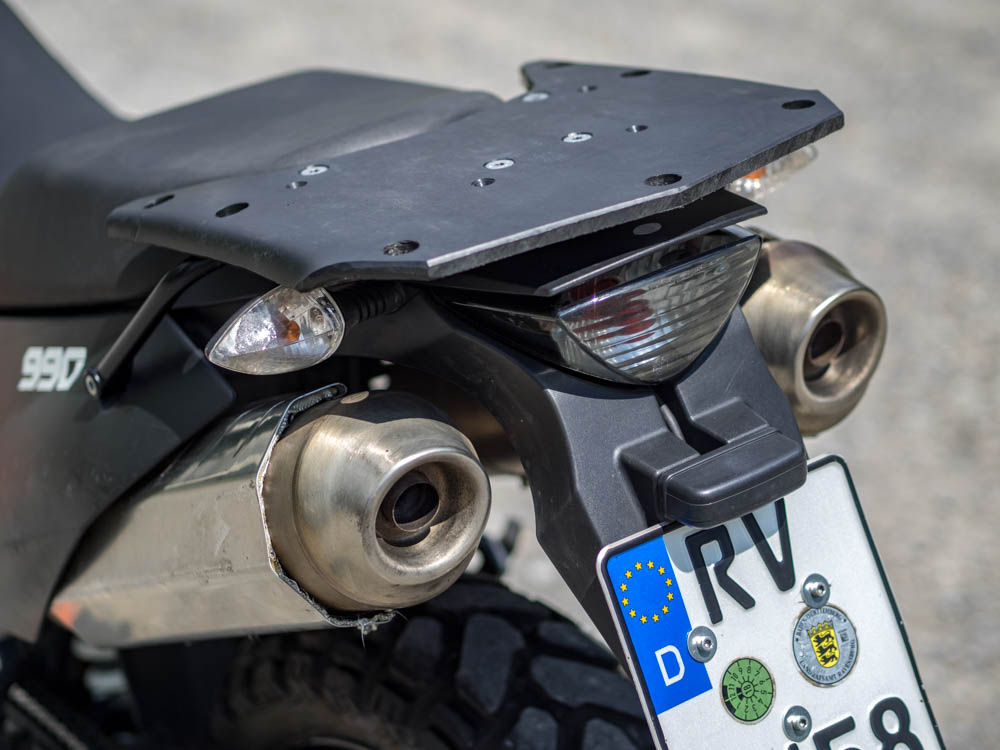
All these luggage plates are made of metal and somet offer just a small support surface. Already for my 990 and the 640 I had luggage plates made of aluminium. If they are badly made and not sufficiently rounded, they quickly scrub through every soft bag. Often you see homemade slabs of raw aluminium that contaminate the bags with a lot of gray abrasion. The commercially available plates are therefore painted or anodized. I don’t know how long that protects against abrasion. The effort to make something out of metal, which is reflected in the price, is for me in no relation to the benefit. That’s why in 2016 I made a high-density polyethylene or short HD-PE plate for my 990s. The first practical test was my Baltic Sea Tour 2016, where it has proven to be super and until today I have discovered no disadvantage of this material.
How do you make it?
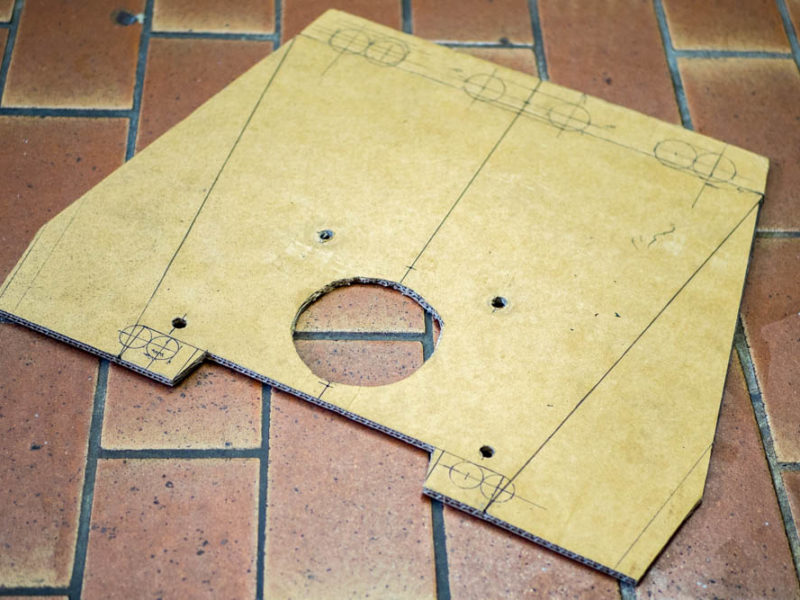
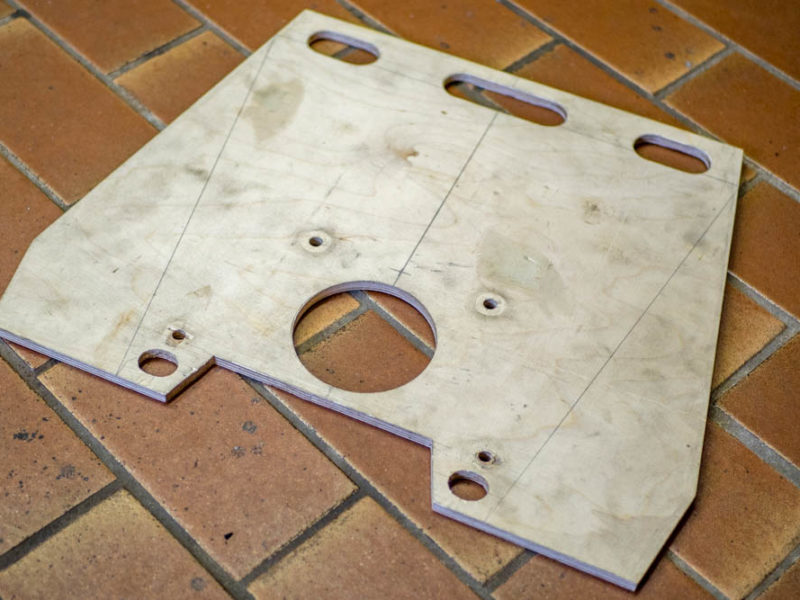
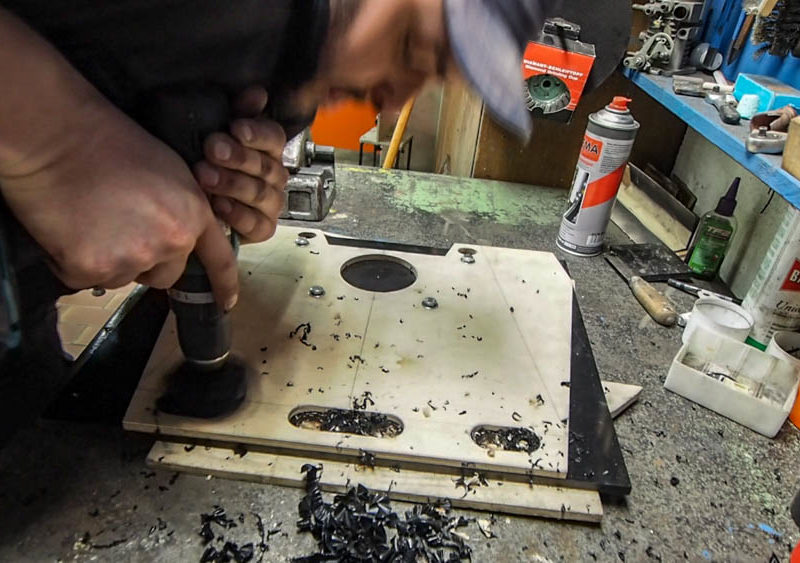
For such work, stencils are the most important thing. Ideas must be discarded and rethought. Stencils made of cardboard are easy to make and cheap. A stencil made of wood is only necessary if the processing should be done with a router like in our case.
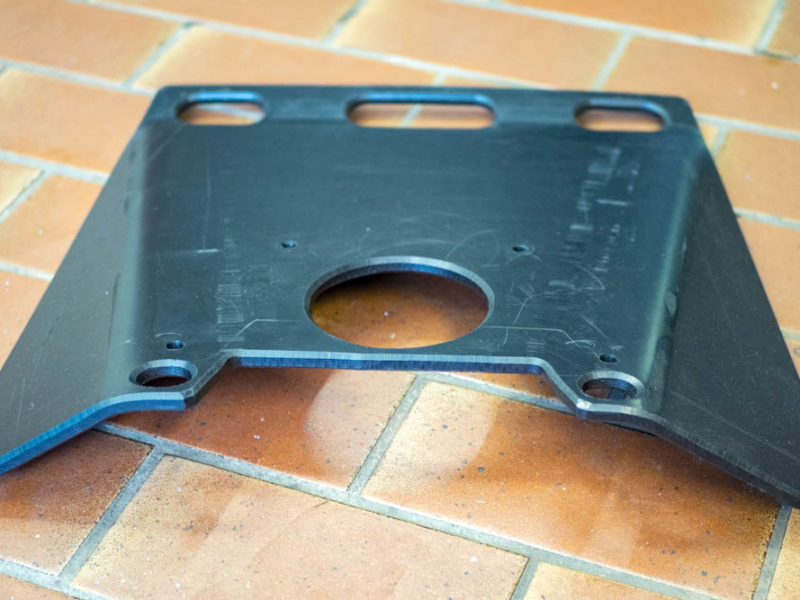
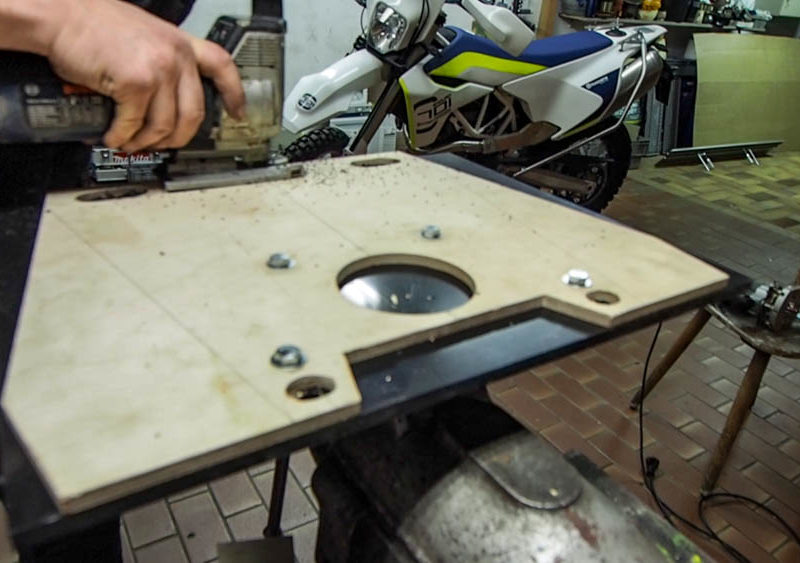
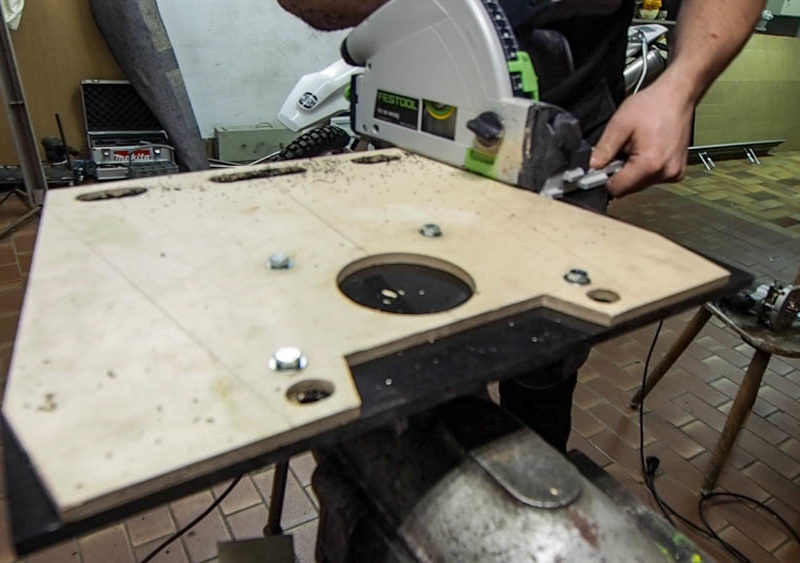
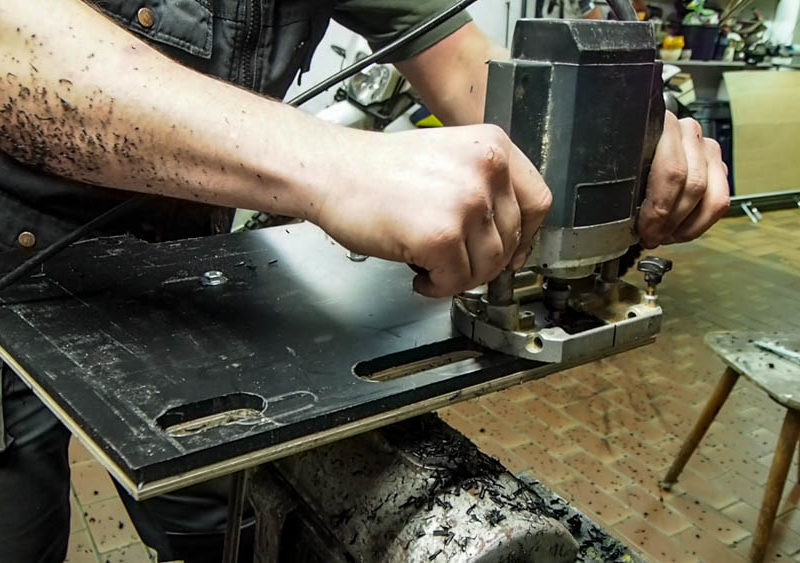
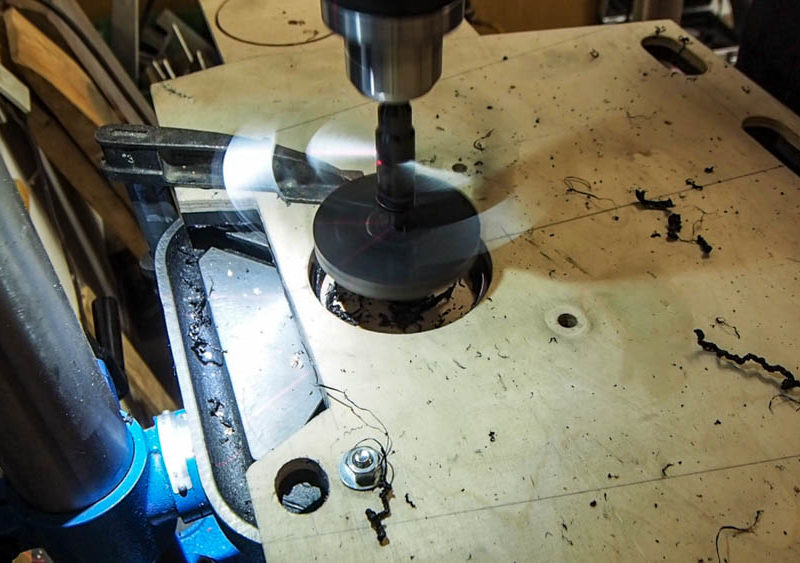
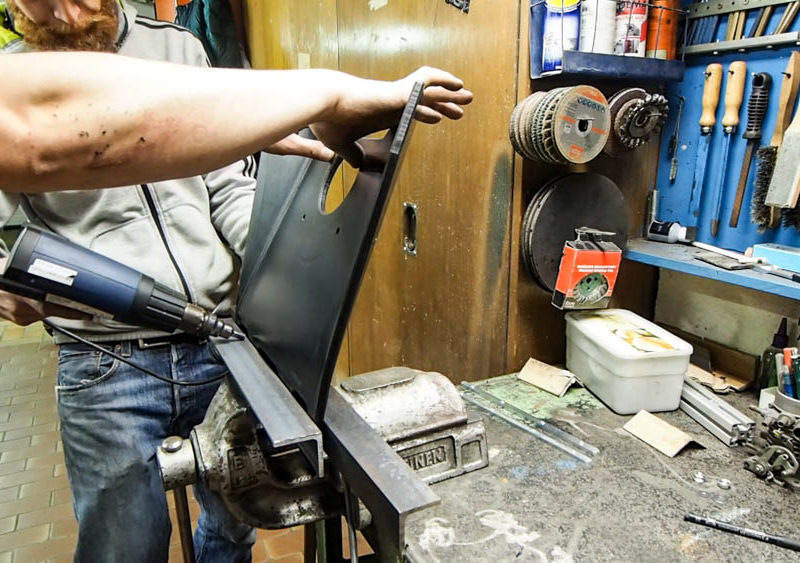
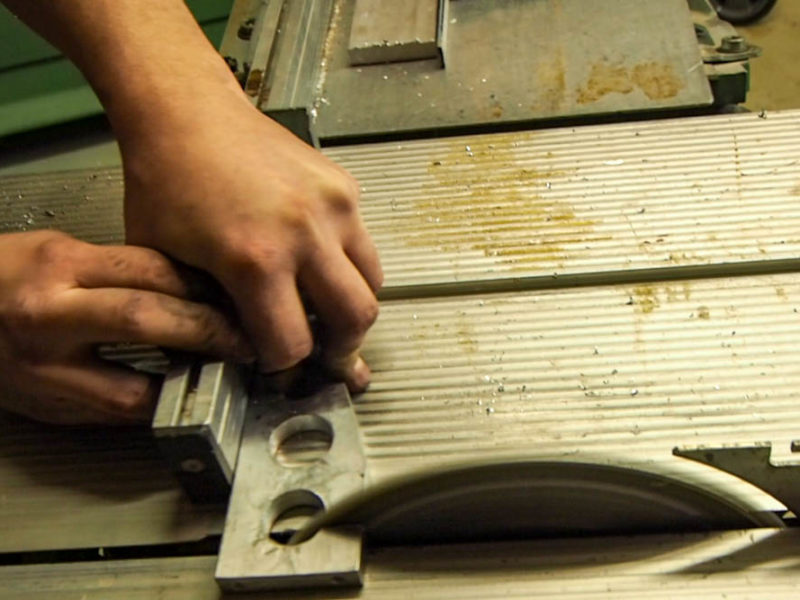
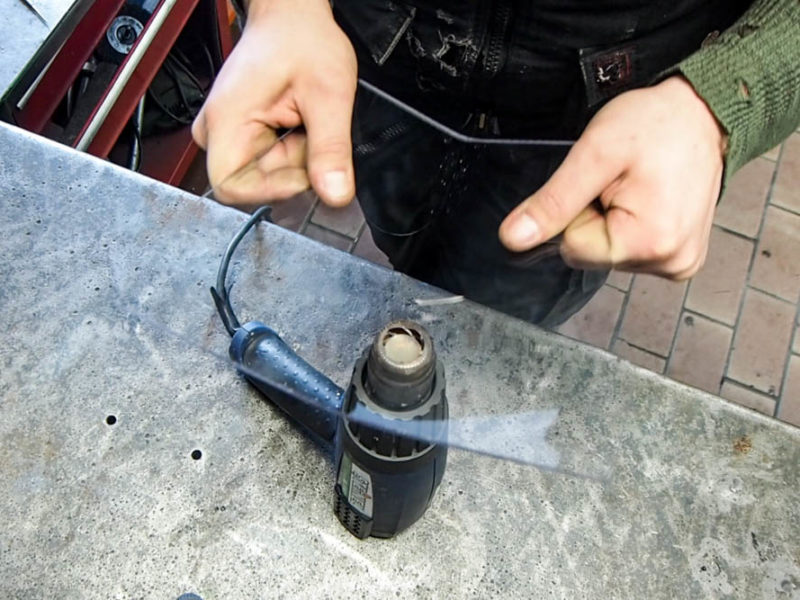
Advantage of HD-PE is it can be edited with woodworking tools. Sawing is best done with a table or circular saw, because of the unsightly edges, the jigsaw is only second choice. Drilling with wood or metal drills, even circle cutters work without problems. Edges can be worked with a router, planer or a knife. To increase the stiffness you should also introduce bends, which can be easily produced by heating with the hot air blower.
Costs
The material costs for a HD-PE plate with 1000x500x10mm are about 30 € + screws for about 10 €. Consequently, about € 20 per luggage plate
Pros and cons of our solution
- The support surface in the area of the filler neck is significantly better. At the back, the wide support surface ensures that the indicator signals and the brake light are never covered by luggage.
- The milled, generously rounded edges should not damage the bags. This is possible because of the generous 10mm plate thickness, with aluminium just 4mm are possible at the same weight.
- The bend provides stiffness so that the plate can continue to unload more backwards than others. It also ensures a smooth transition, especially to our preferred rackless bags.
- At the back we have integrated a comfortable handle which makes it easier to maneuver.
- The plate remains black, white or which color you choose it is colored through.
- Granted, our plate is truly not a beauty. The question is, how often do you travel without the luggage under which it is hiding anyway? It’s not a necessity the plate of the 990 looked very good.
- Because HD-PE is much softer than aluminum, screws are easier to tear. With generous contact surface of the screws that is not a problem. Our sleeve nuts or pan head screws are a great solution
- The stiffness of HD-PE is also lower therefore the plate is much more elastic. Lashing points that go up from the plate are never a problem. The plate just snuggles to the luggage. If lashed over the plate to the frame, you should pay attention to sufficient distances to create no pressure points on trim parts
Market
For the 701 I know the following manufactureres of luggage racks::
www.vanaschemotorsports.com USA, www.perunmoto.com Serbia, www.nomad-adv.com Netherlands, www.rally-raidproducts.co.uk UK, www.outbackmotortek.com Canada und toys2go.co.za South Africa.
Our partner www.husqvarna-motorcycles.com also has a carrier in his portfolio, but the target group is the Supermoto and not the Enduro.
The Vanaschemotorsports vehicle can also be purchased through our partner www.aurora-rally.com within the EU.
Personal Experience
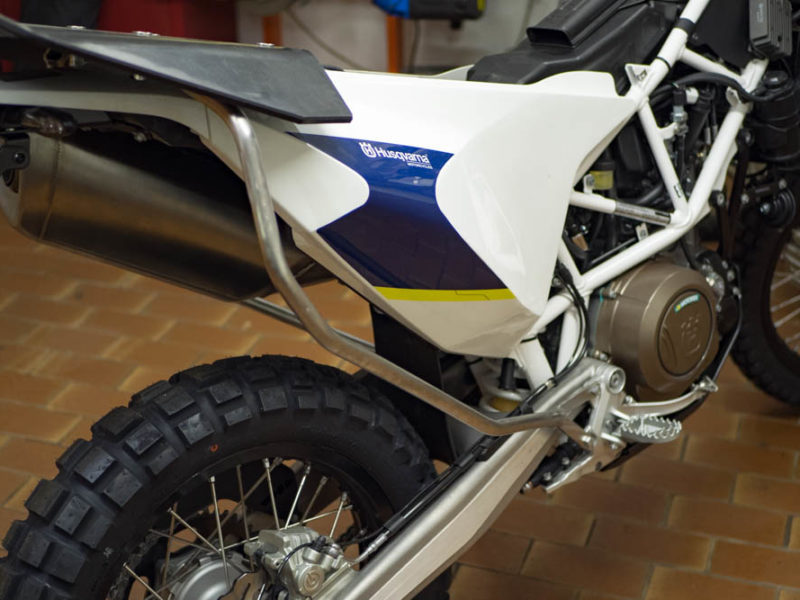
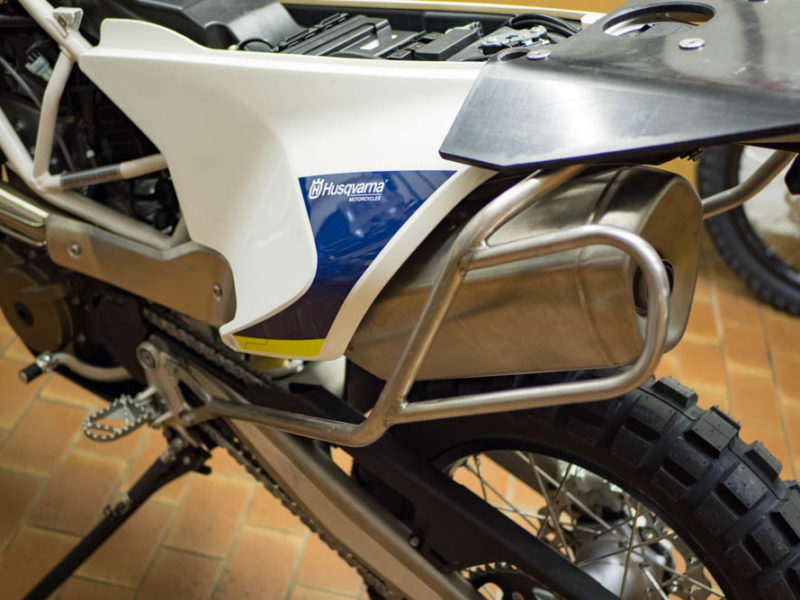
Most rack systems are designed like those of my 990s for aluminium boxes and are usually already oversized for saddlebags. Personally, I’m a fan of the horseshoe-shaped rackless systems that Giant Loop pioneered. With plenty of luggage and in combination with an asymmetrical rear end, which has only one rear silencer as a support, these systems don’t work well without a rack. In addition, such a rack relieves in the ideal case, the frame rear of the motorcycle. Soft luggage is also better for enduro drivers because it can move. Exactly that leads quickly to paint damage and thus rust. Clear advantage of the stainless steel support of my 990 compared to the painted support on the 640
How do you make it?
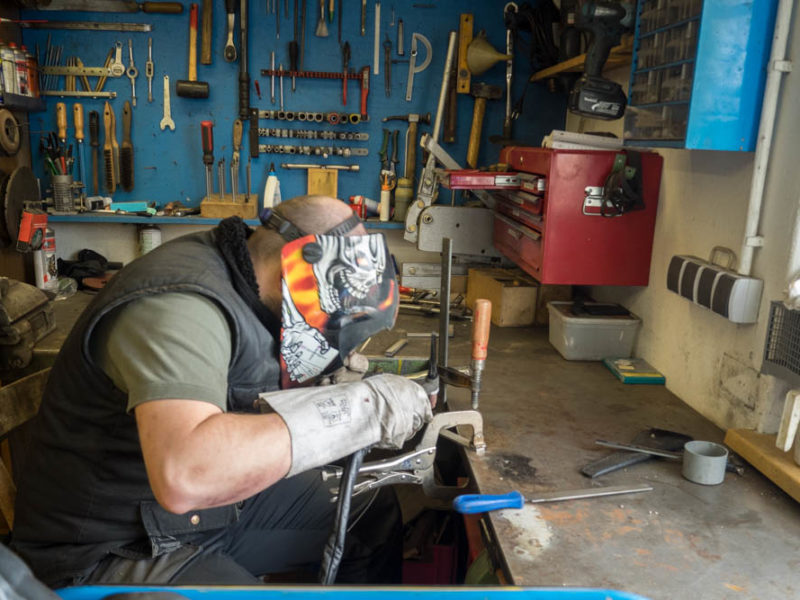
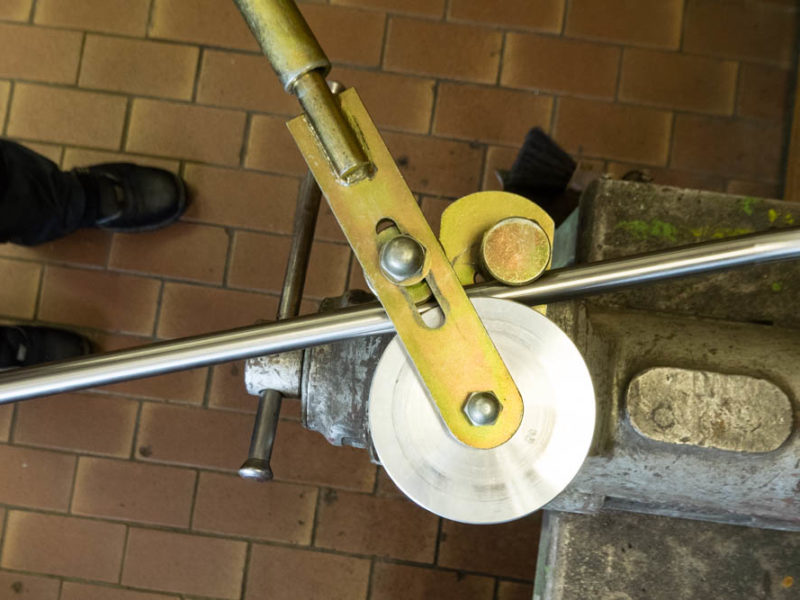
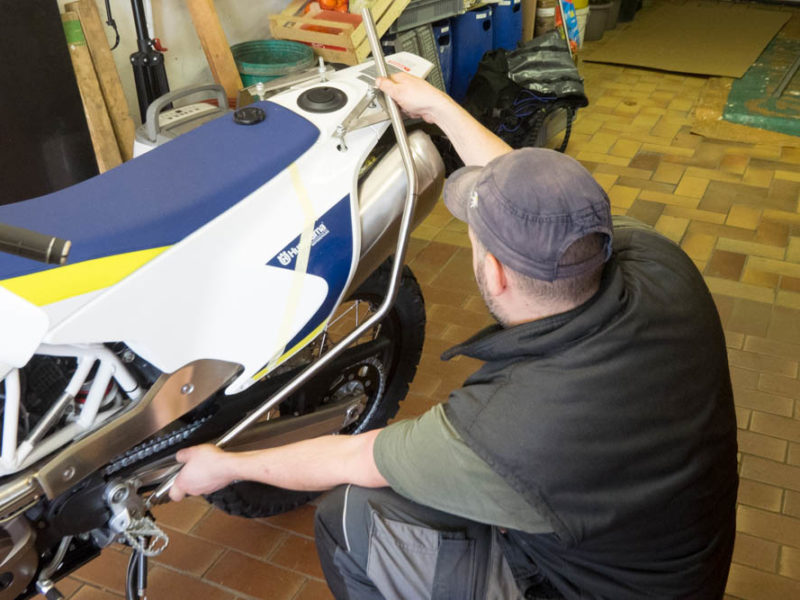
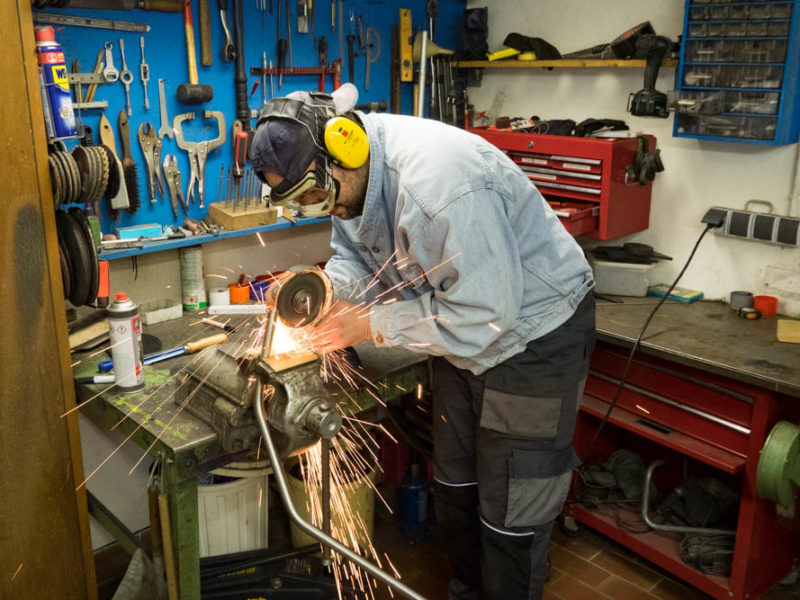
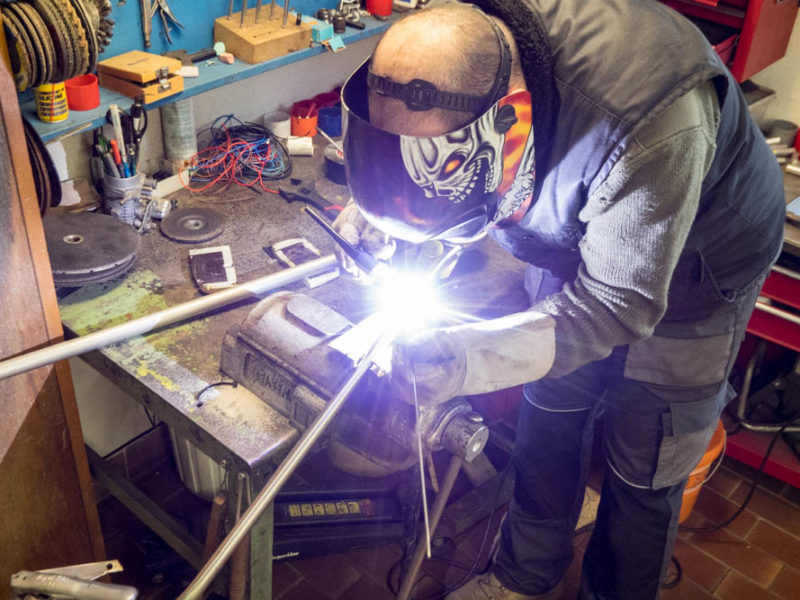
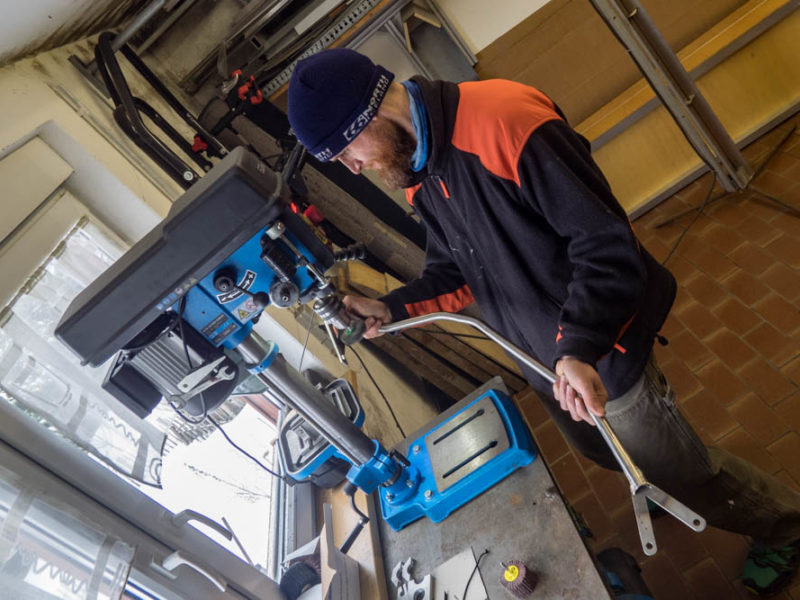
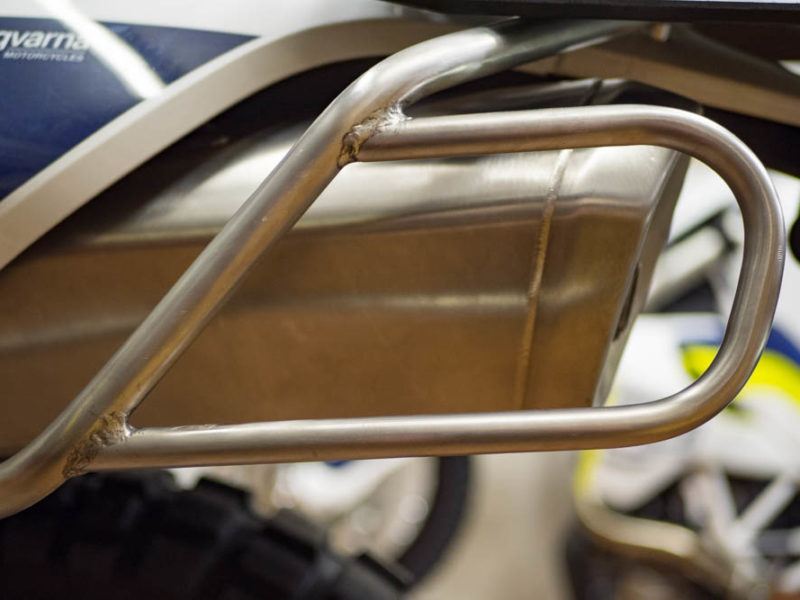
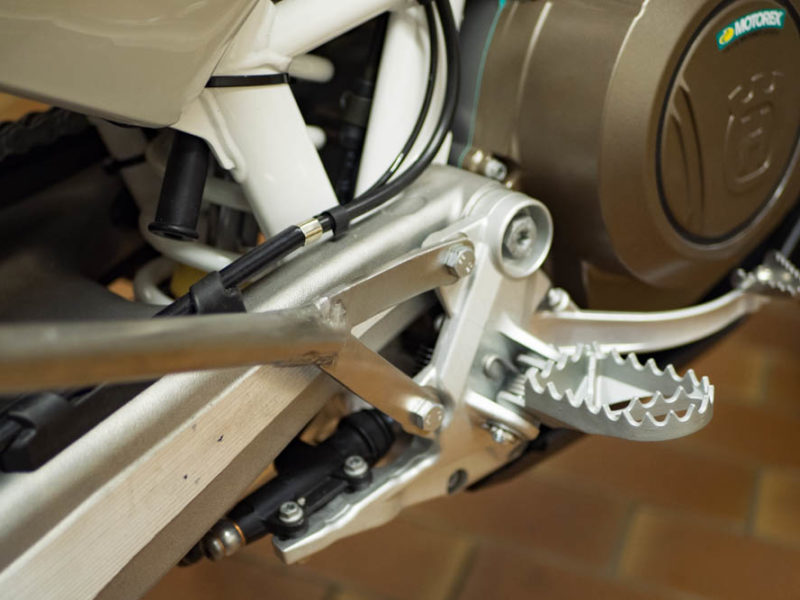
Desire was therefore a simple support made of stainless steel which supports the rear and not too noticeable. Other than that, I was curious to build something like that. The required tube bending machine lent me a colleague, welding machine drill and grinder are otherwise sufficient. The biggest difficulty in the production is to imagine the rack in 3D and then to create it out of sheer 2D dimensional bendings A nice challenge and the result is impressive. Definitely anything but a beginners task.
Costs
Material costs approx. 40 € per carrier for stainless steel round tube with Ø20×1,5mm and 16×1,5mm
Pros and cons of our solution
- Shapely carrier that subtly frames the lines of the motorcycle.
- At least most of the time, my TIG welds are more beautiful than most MAG welded seams.
- Corrosion resistant because of stainless steel. (Stainless steel can be welded with a hand welder as well as normal steel, you just have to live with it so that it rusts on the spot afterwards)
- Stainless steel tends to intercrystalline corrosion, which can lead to breakage, especially in the area of welds. Therefore, the majority of vendors are quite likely rely on the less critical structural steels, e.g. S355. Our tubes are made of an X5CrNi18-10 1.4301 and basically prone to it. As a private person it is unfortunately not always the ideal semi-finished material available. However, the risk is limited, especially as our luggage systems manage to work without a rack.
Market and personal experience
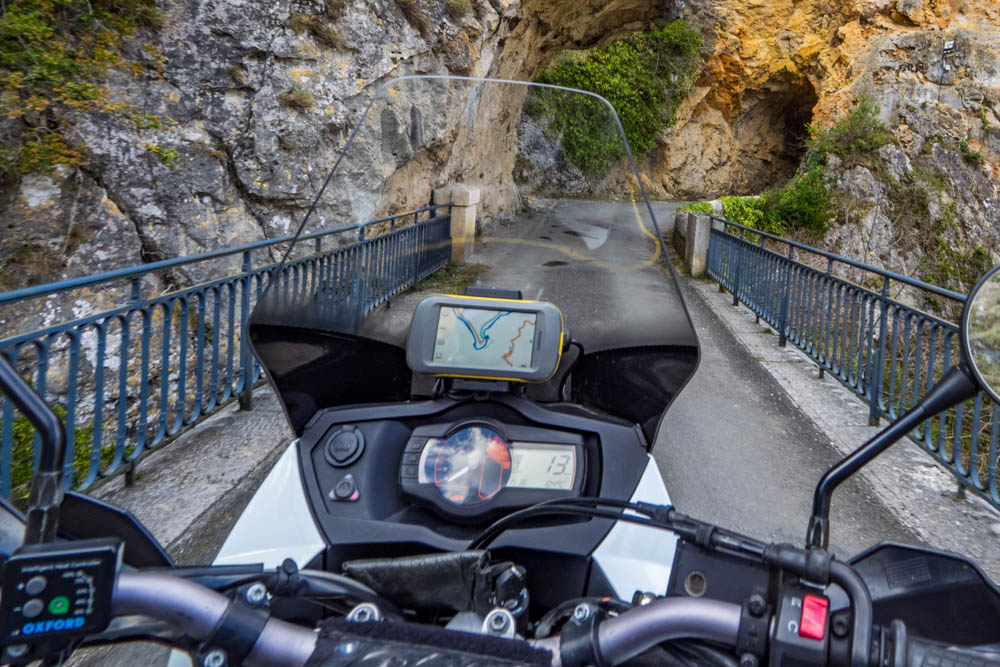
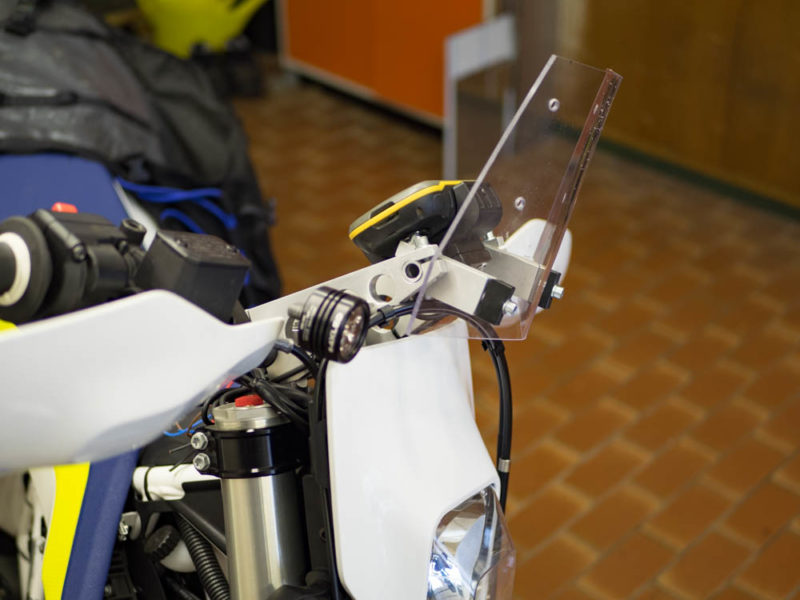
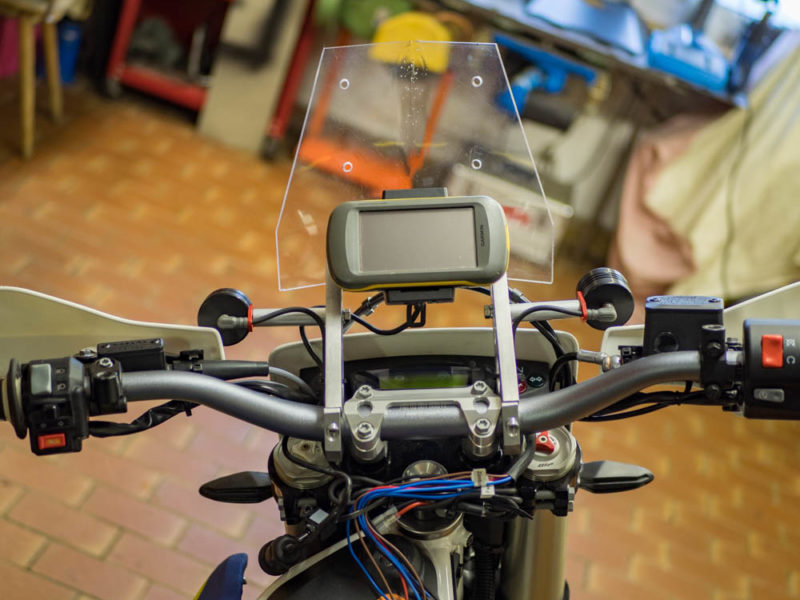
In connection with building a travel bike out of a 701 one stumbles over a variety of kits that include rally towers. A rally tower is not a necessity to travel, but I admit it looks really great. My 640 had for years the GPS on the handlebar clamp, no windshield and only one 12V outlet. This is also enough. On my 990 I had the standard and the touring windshield. Both made so much wind noise that I do not like to drive without ear protection. What I appreciated was the high-mounted navigation system. It is simply in the field of vision and the short look on the GPS ends rarely in a dangerous situation as on the handlebar clamp. Consequently, the desire was to mount the navigation system higher, to have a flexible windshield and in best case the possibility to fix the additional lights. The inspiration comes from Jussi Hyttinen www.therollinghobo.com he has implemented a similar solution based on the Universal Navigation Clamps from www.rallymotoshop.com. The solution was so hard in my mind that I did not research any other alternatives.
How do you make it?
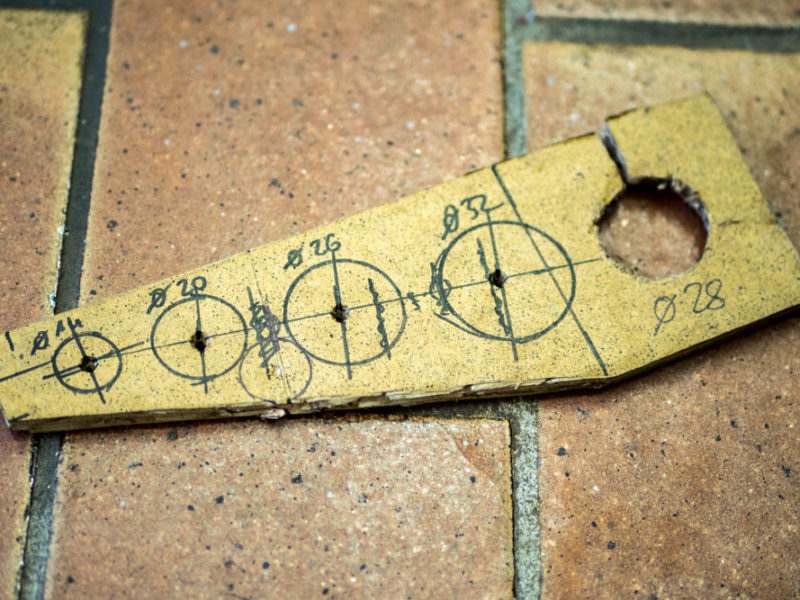
Similar to the luggage plate is at the beginning is a template. This is necessary to check the mounting position and to avoid collisions with other components.
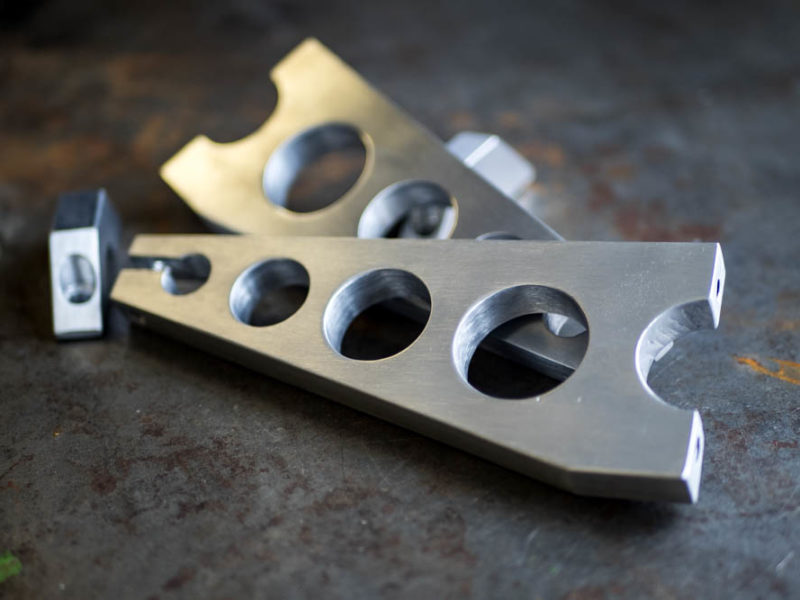
The procedure is in principle not complicated either. Sticking point is here to manufacture the clamping, therefore the rough steps for this:
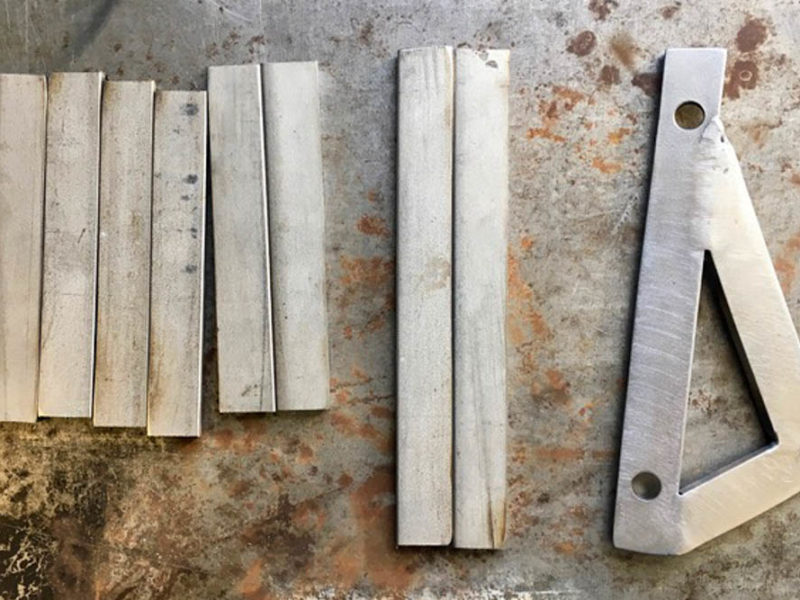
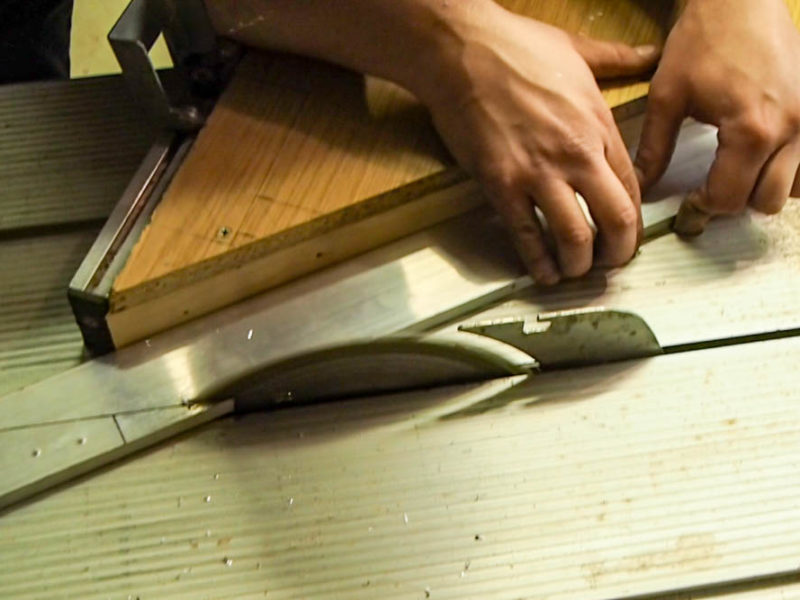
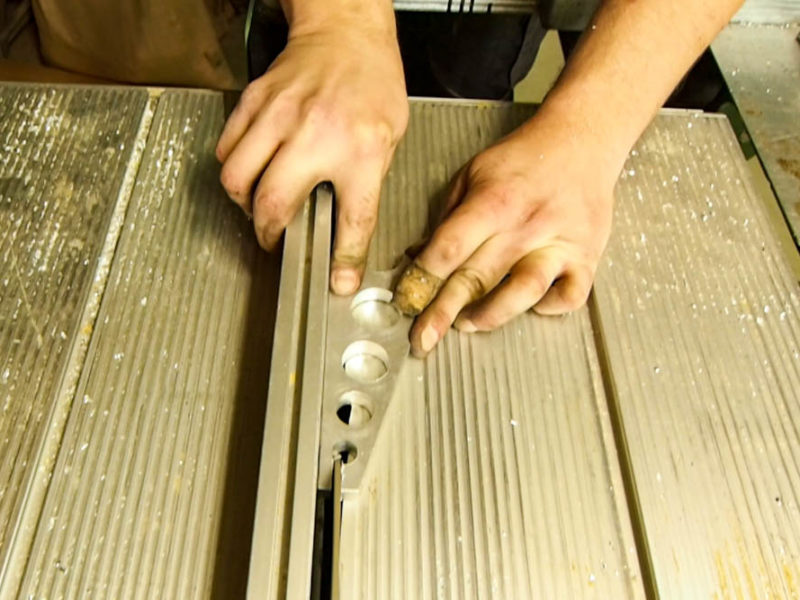
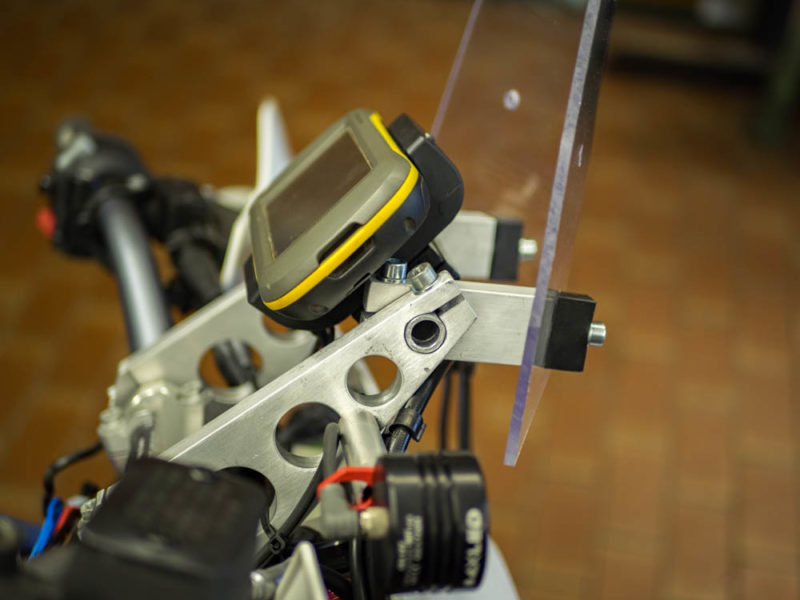
- With a suitable aluminium saw blade, you can cut a simple form out a 10mm flat material on a circular saw like the triangle of our clamps.
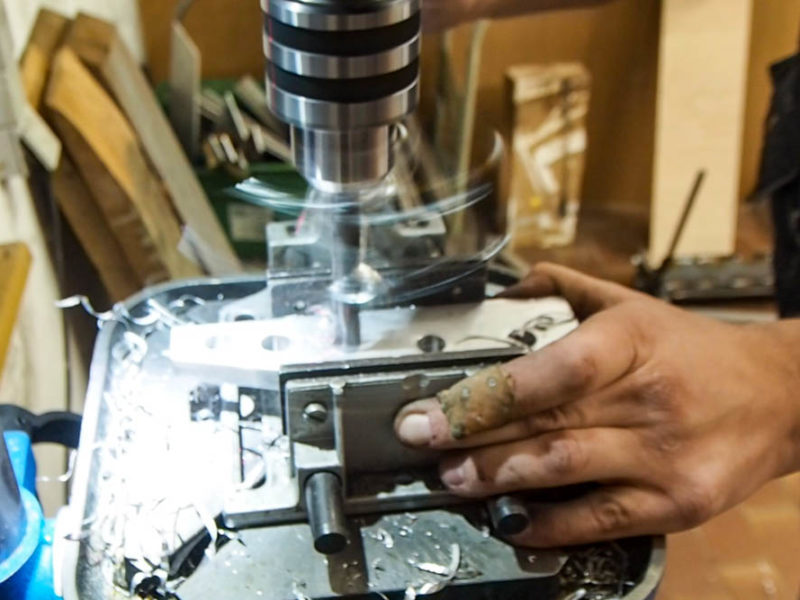
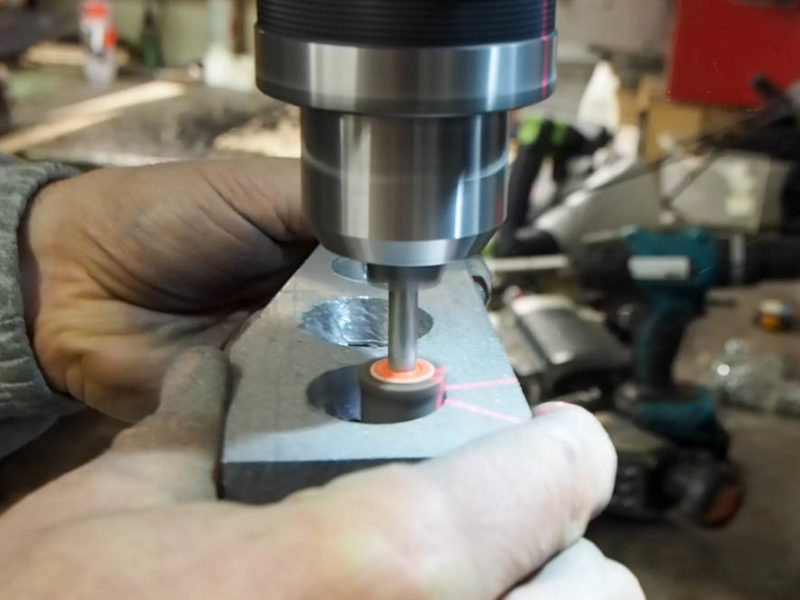
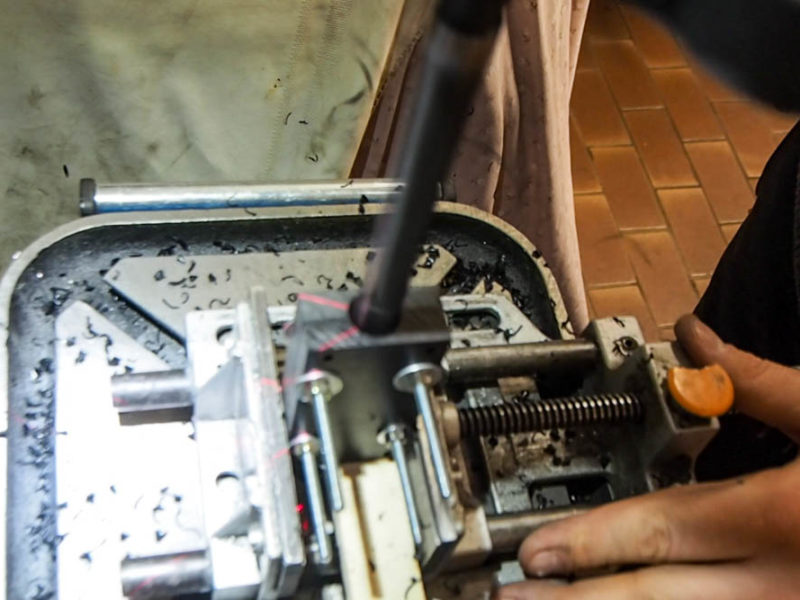
- The stand drill drills the 28mm hole for the handlebar clamp and the 15mm hole for the cross tube. Additional holes at will to save weight or for attaching accessories.
- In the next step, the holes for screwing the clamp are drilled.
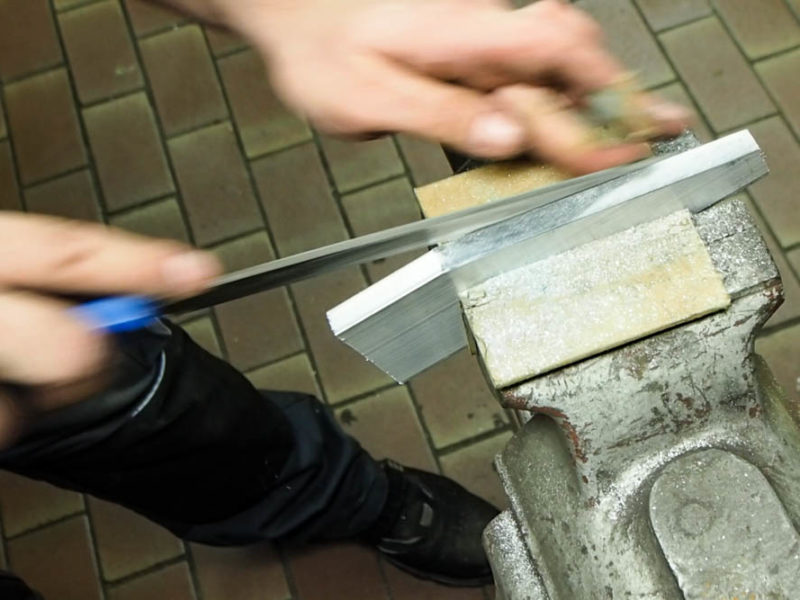
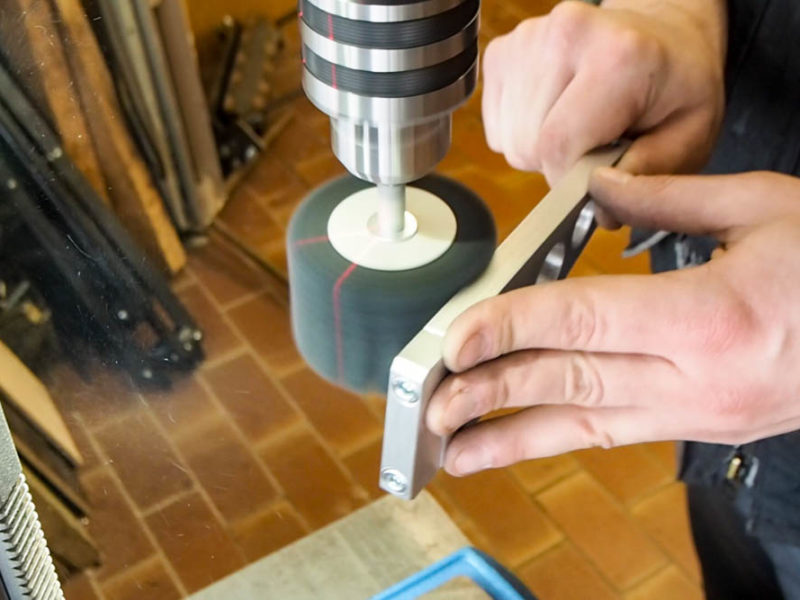
- Shape the clamp with a file etc. and smooth the holes on the inside with a grinder.
- For the handlebar clamp, the support is cut through in the middle of the 28mm hole and only sawn in for the 15mm hole
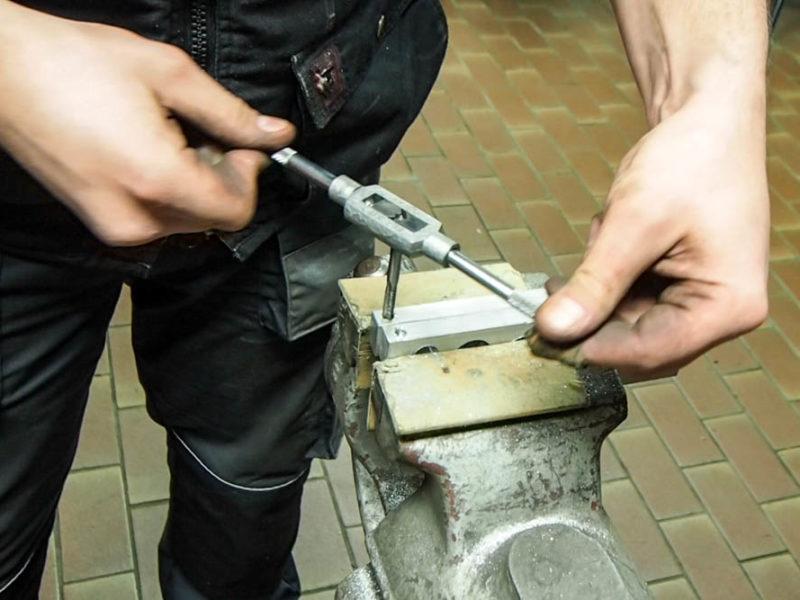
- In the next step, the upper shell of the clamp is drilled out and threads are cut into the pre-formed holes of the lower shell.
- Polish the part with a sanding fleece.
Using the same method, other clamps can be made, such as those for the windshield.
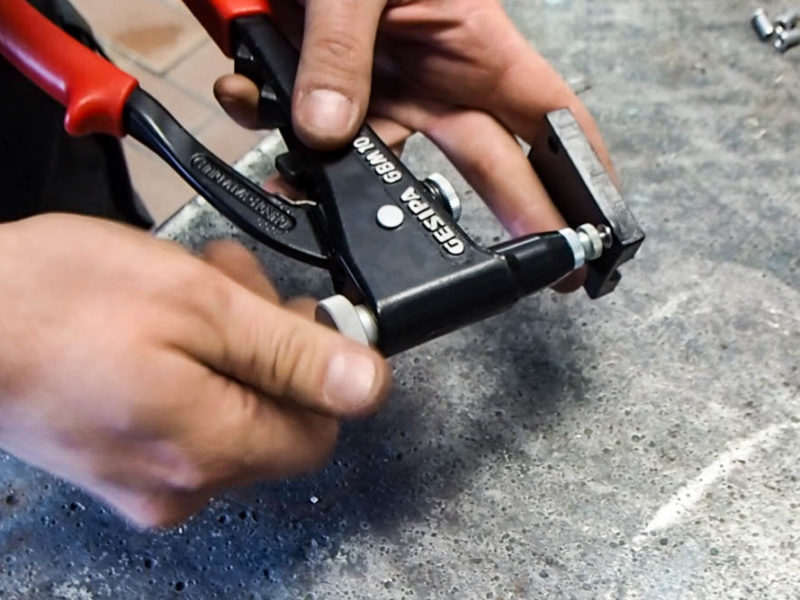
For the work with polycarbonate (the material of the screen) the same applies as for the processing of polyethylene (see luggage plate). Unfortunately, I know no manufacturer that adds to his polycarbonate plates the necessary papers for the TÜV approval. It is also conceivable, however, to rework an existing permissible screen.
For the clamping of the navigation device I went the reverse way. Two polyethylene plates firmly screwed together and drilled. Disadvantage of this method is that subsequently material has to be removed from the inner surface in order to produce the clamping. With polyethylene you can do that with a hand plane. With Aluminium that would be much more difficult.
Costs
5 € for the flat material and the round tube of the universal carrier,
Polycarbonate sheets cost about 55 € / m², for the windscreen about 3 €
Polyethylene was a waste of the luggage plate
5 € for screws, nuts & washers
Pros and cons of our solution
- Navigation system is in sight. Without a windshield, it is also exposed to insect flight and weather.
- Small windshield primarily to protect the navigation system. Windbreak is up to about the middle of the helmet quite neat and annoying wind noises remain off.
- Compared to rally towers better view on the front wheel for difficult terrain and less obstraction when photographing and filming from the motorcycle.
- Many degrees of freedom for the ideal adjustment of windshield, navigation system and additional lights
- Preservation of the original lamp mask and look of the motorcycle. Conversely, depending on your preference, you can also clearly prefer the look of a rallytower.
- Operability and visibility of the original instrument is limited.
Requirements
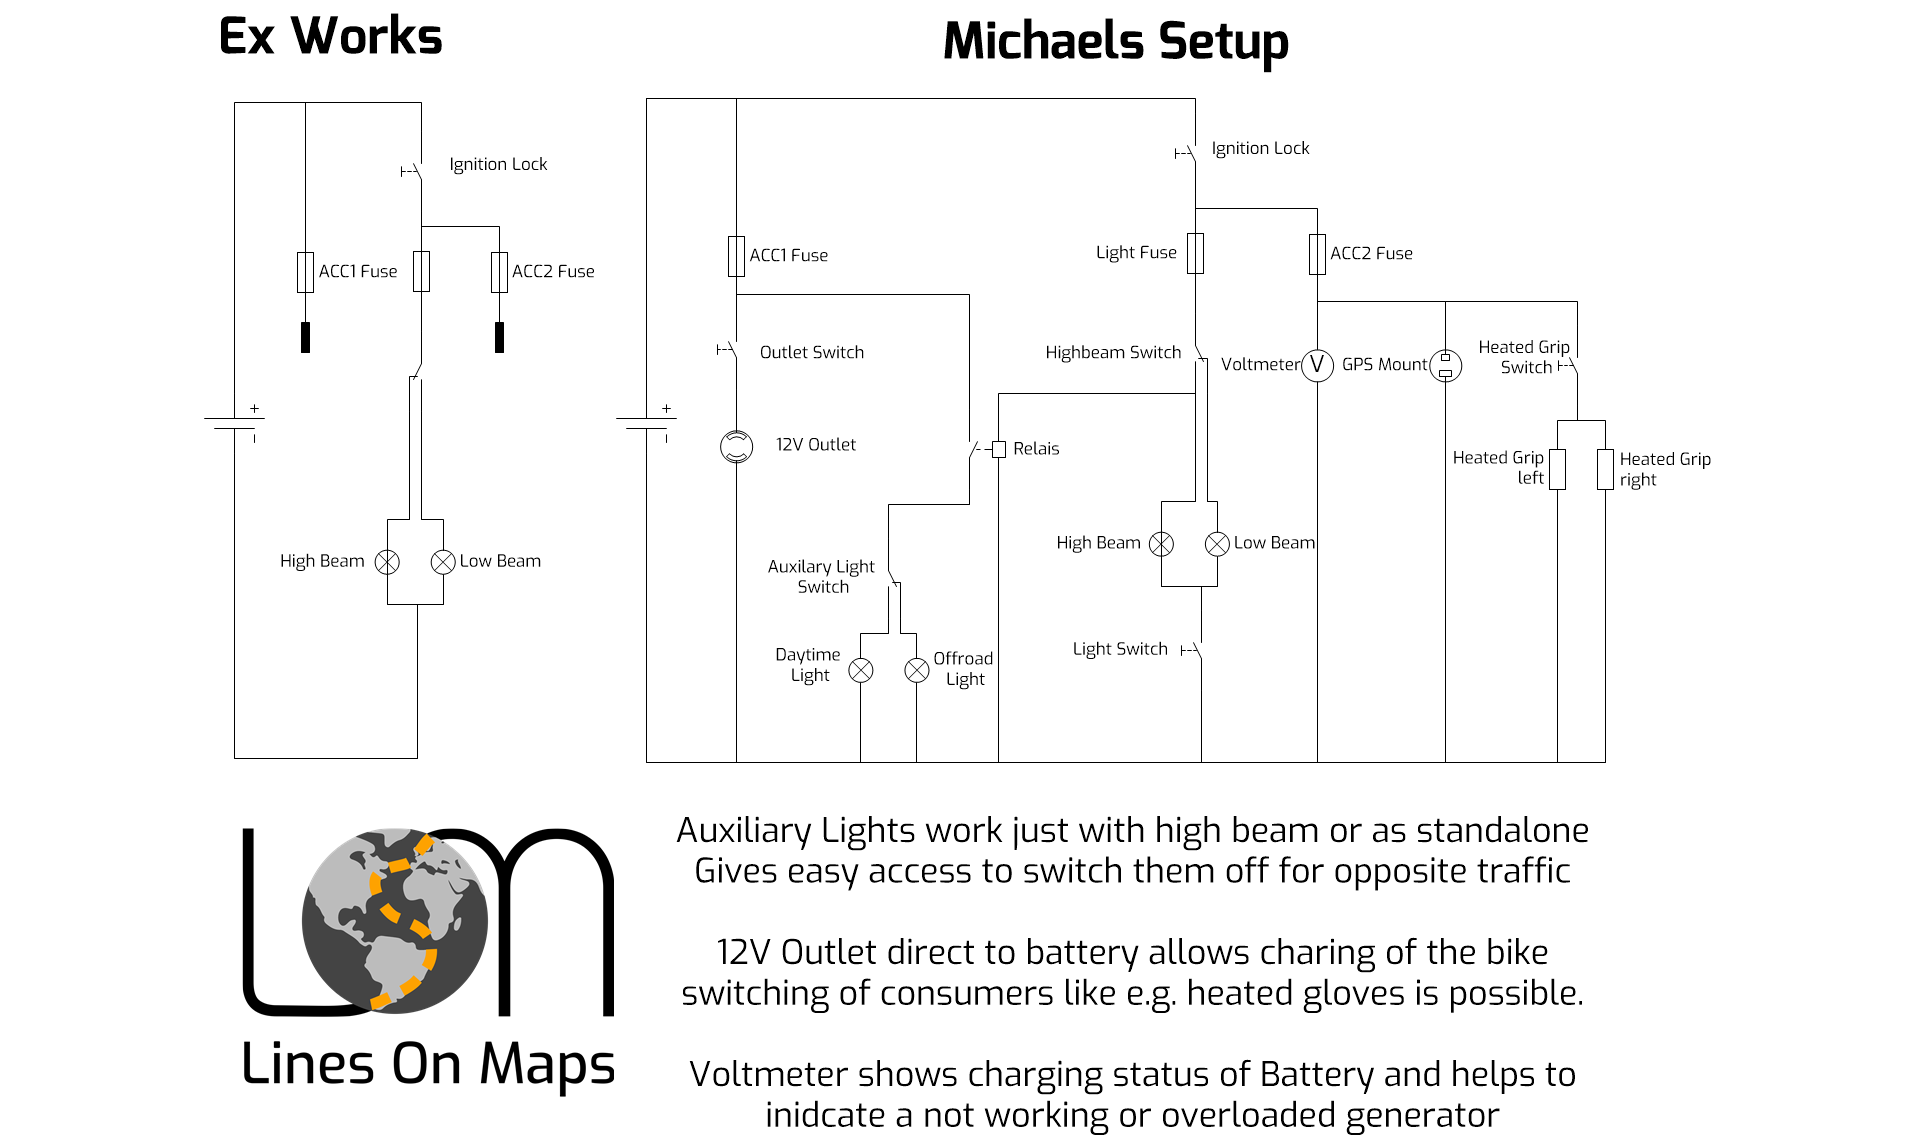
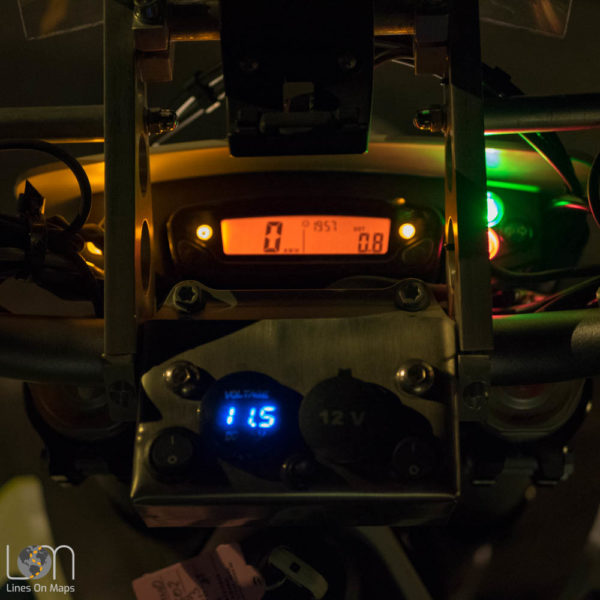
- 12V socket switchable by e.g. To be able to switch on and off consumers like heating gloves. At the same time, this serves as a charging option for the vehicle battery and therefore it has to be permanently positive.
- A voltmeter for monitoring battery voltage and generator function. To avoid energy consumption at standstill, it is connected to ignition plus.
- A light switch to start better with cold start and low battery. Further requirements are to reduce the energy consumption in general or to drive exclusively with the LED auxiliary lights.
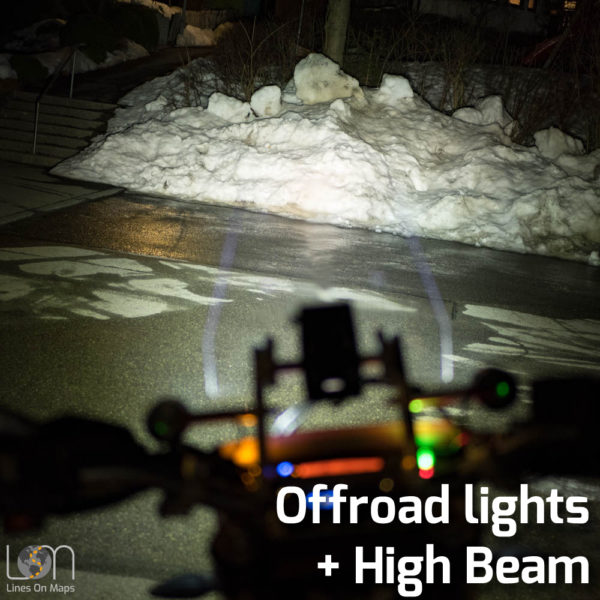
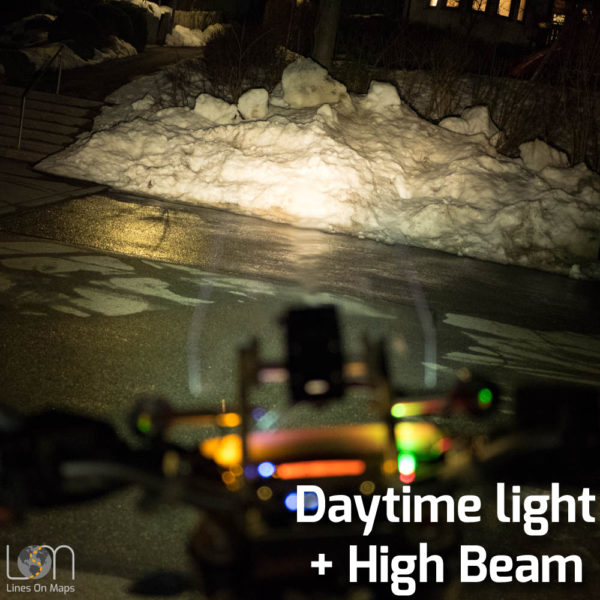
- Connection of the LED auxiliary lighting coupled to the high beam switch. Allows theoretically the use in the public traffic area and can be dimmed just as fast as the regular high beam. Especially on roads without lane marking this is still interesting even if still illegal.
- Power supply of the navigation device with ignition plus.
How do you make it?
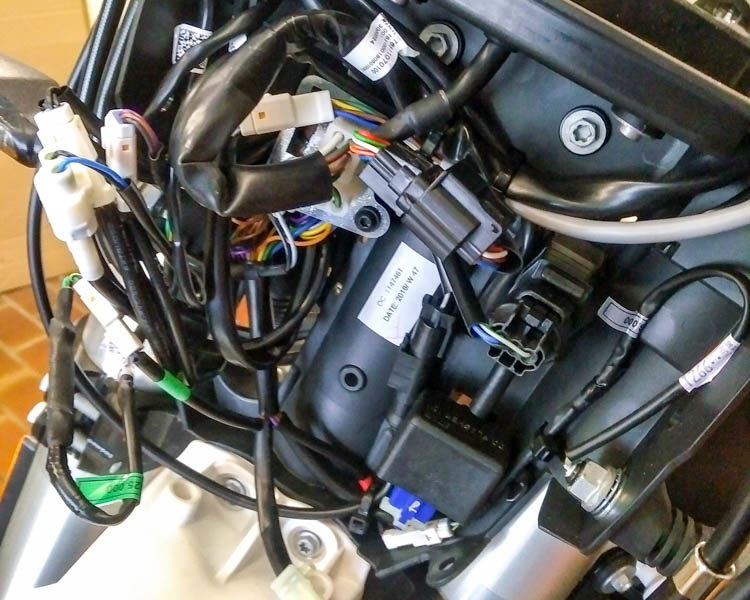
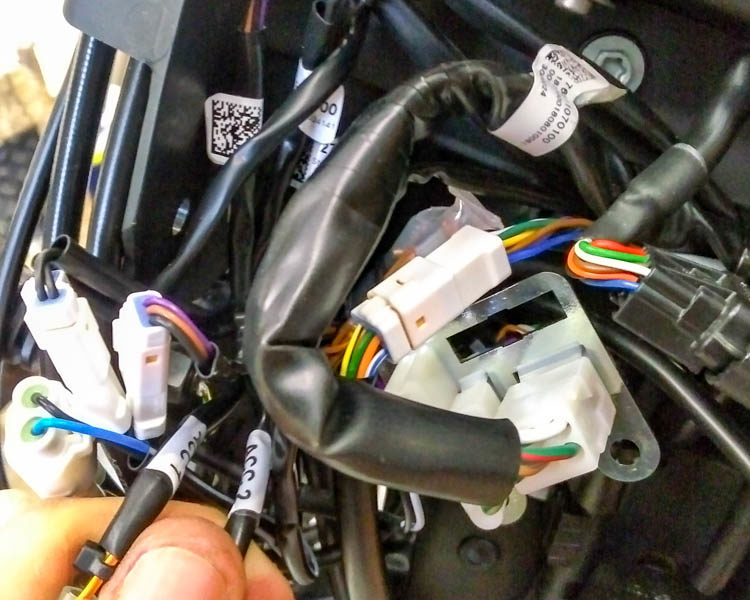
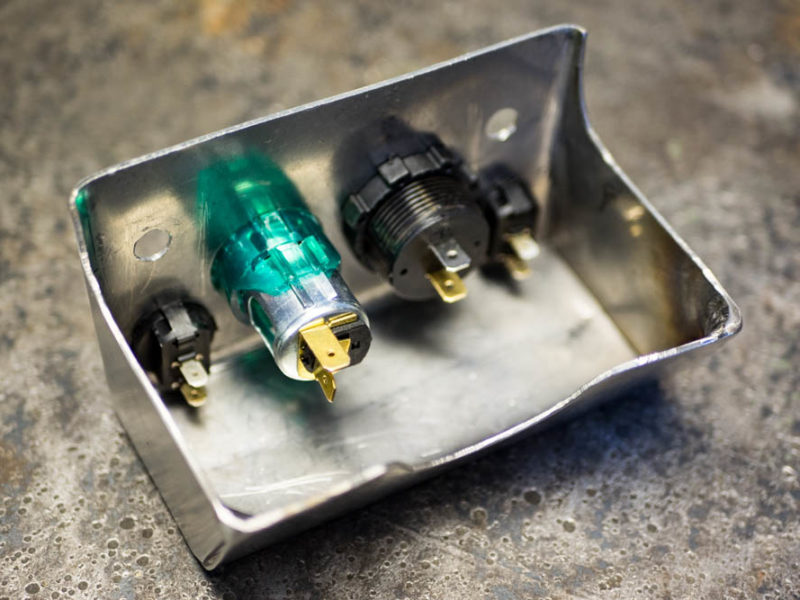
The whole thing was realized as shown in the wiring diagram. Fortunately, Husqvarna is already providing two 10A secured lines with ACC1 (continuous plus) and ACC2 (ignition plus). The plugs are well hidden behind a plate in the lamp mask. I have the entire electrical system housed in a small self-built stainless steel box. The weather immediately exposed plugs are realized with sealed AMP Superseal plugs and in the box are normal connectors. Of soldering, lustre terminals and like bodge I strongly advise against. Such plugs as well as the necessary crimping pliers do not cost the world and are available in motorcycle accessories, Ebay and of course in specialist shops.
Do you need auxiliary lights or not?
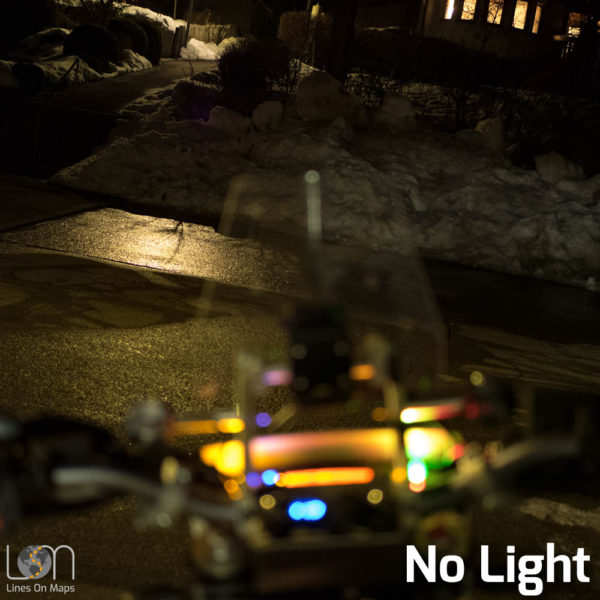
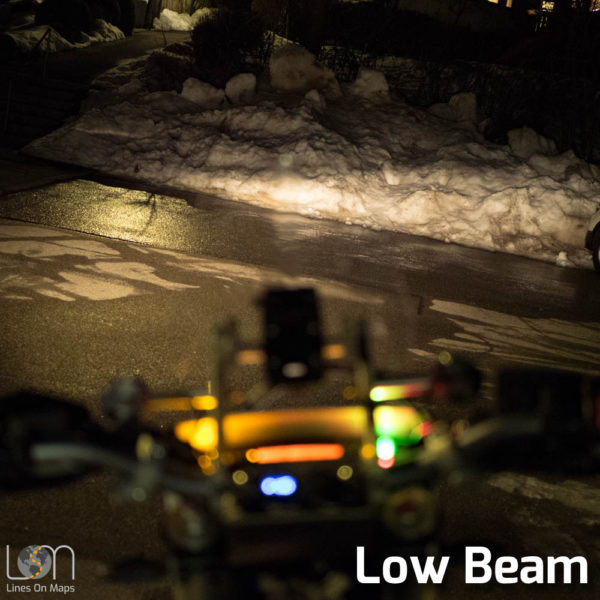
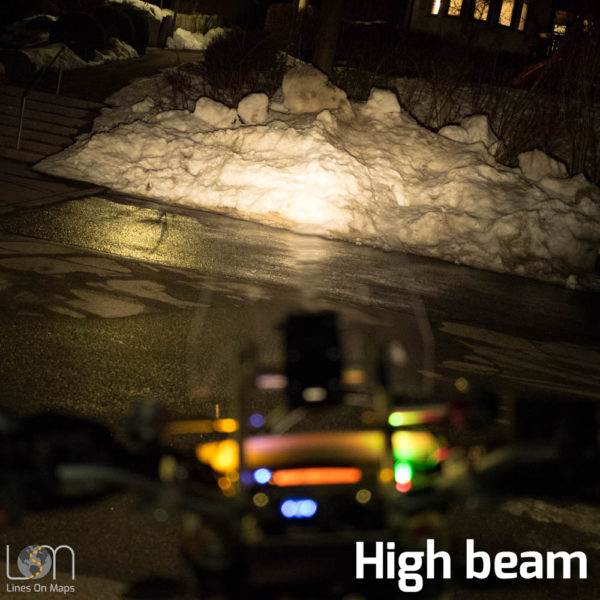
On all journeys I only missed them in two situations. On a night ride through Albania on a paved road and a nightly cross-country drive in Mongolia. Driving slowly allowed to master the two situations, but relaxed is different. I have them mounted mainly because the drive into the night loses its fright. This particularly concerns the following situation: You are in an off-road stage, it is late and you just can not find a suitable place to camp. Without additional light you have to be satisfied with a stopgap solution much earlier, because the risk of driving into the night is too big. For a long time there were simply no compact LED lights and certainly none that withstand the vibrations on an Enduro. Classic halogen lights consume far too much energy for Enduro’s small alternators. I had the following three brands in my shortlist: www.visionx-europe.com USA, www.bajadesigns.com USA and www.4xled.com from Poland. Installed are now the Supermini (SM4) of 4xLED. Unfortunately not street legal. Important to know is, an E-mark alone is not enough. The lights must also be approved for use as daytime lights, fog lights, low or high beam headlamps. The best offer for permissible lights is www.highsider-germany.de. The company produces mainly styline for street motorcycles, which is why I have preferred for my purposes, the retention of H4 light and not allowed lights. A short comparison of the brightness can be found in the following gallery:
Market
For the 701 I know the following manufactureres of a brake cylinder protection:
www.perunmoto.com Serbia, www.nomad-adv.com Netherlands
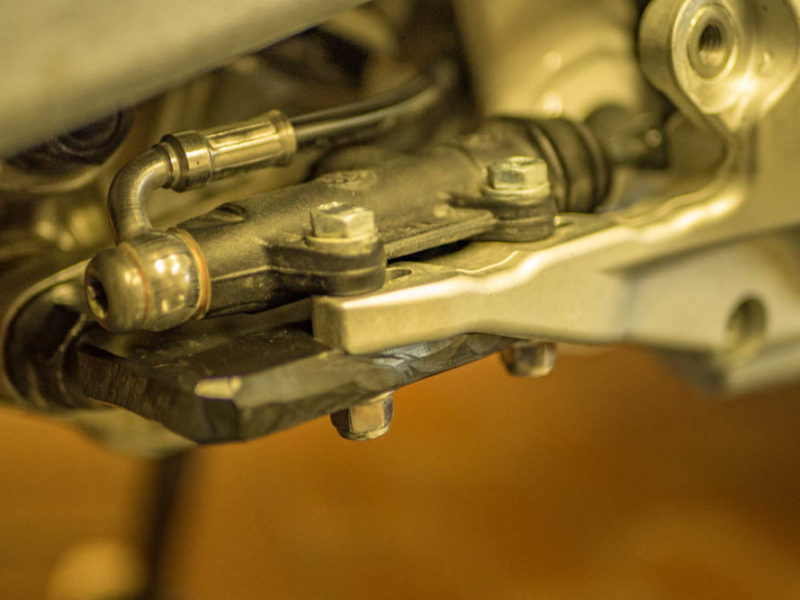
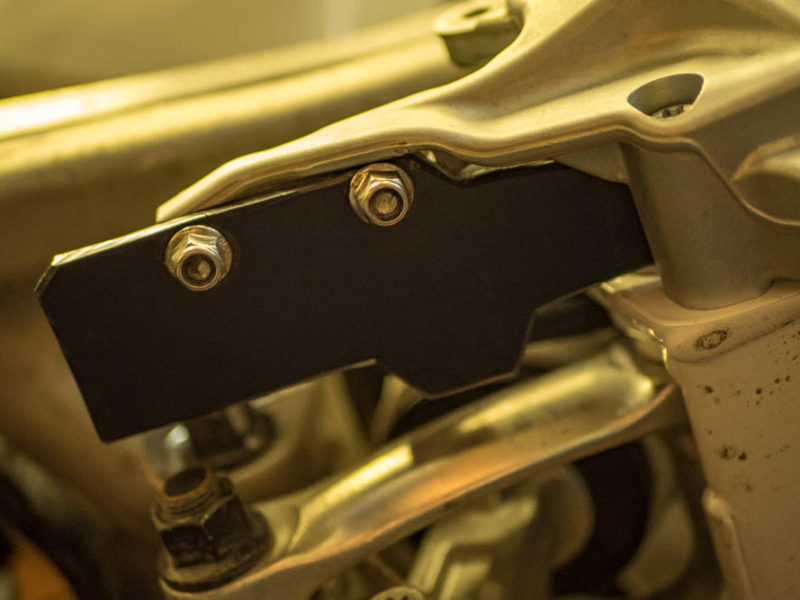
A brake cylinder protection makes sense just because otherwise the seal and the raceway of the cylinder is exposed to swirled stones. In don’t know how far stones are really whirled up to this point, but we will test. A remnant piece of polyethylene was found quickly, coarsely sawed, drilled the rest carved and 15 minutes later this part was finished. Effort and costs almost zero.
Pros and cons of our solution
- The polyethylene is soft and gives way in a strong impact. Ideally, it bends or tears at the screws before the brake cylinder or the casting holder gets damaged.
- The adjustability of the brake cylinder does not change through the plate.
- Compared to the parts of Perun and Nomad the pure plate doesn’t reinforce the holder.
Michael
All stories by: Michael2 comments
-
-
Michael
Hello Tom,
thank you very much for the kind words. Everything described in this post is selfmade also fairing and mount system. The only similar fairing i know is the Adventure Spec Mini Fairing. Keep in mind this type of clamped fairings won’t work with the BRP Mount. In case you plan to use a Steering Damper now or later i rather would invest in something else.Best Regards
Michael
-


Tom Hirsch
Hello,
Great build and thanks for the wealth of information! Who makes the faring and mount systen? Thanks You